Hello all!
School is about to begin, (or already has for some of you) and we came up with a list of 10 Things to Do Before School Starts!
10. Go thrifting for a new backpack!
9. Draw a picture with colorful markers to put in your binder!
8. Use our Rainbow Notebook Tutorialto jazz up some journals!
7. Make a chain with your name on it (or anything else, ex. peace, create, school mascot) out of letter beads to hang on your backpack !
6. Super fun book cover tutorial made from shopping bags! This one is definitely on our never ending to do list!
5. Invite over some friends and have a back to school party!
4. This lunch survey is really cool, and seems handy!
3. Make cookies shaped like school buses, apples, pencils, anything school related for when every gets home!
2. Make a Back to School countdown on a chalkboard or dry erase board!
1. HAVE FUN!
Enjoy!

Showing posts with label tutorial. Show all posts
Showing posts with label tutorial. Show all posts
8.09.2011
3.22.2011
Polka Dotted Pinafore

Also, for the first time in Those Crafty Chicks history, we did our first photo shoot! It was a little cold outside, but we made it through and got some really cool pictures. Thanks for modeling Lindsey! If you want to see all of them, we'll have a "Photos" section coming soon.
Let's get started!
You need:
1 or 1.5 yards of fabric (depending on your size; this skirt was made for a 12 year old girl.)
Zipper
Fabric Glue
Scissors
Iron
Sewing stuff
First, measure your waist, and add about 10 inches. This is measurement A.
Now measure from your waist to wherever you want the skirt to end and add 1 inch. This is measurement B.
You might need a friend to help you with this one! Measure from your waist, up to your shoulder, and down your back until you get to where your waist is. Add an inch and this is measurement C.
OK, now cut all your pieces out as shown below. The length of the waistband is the measurement of your waist, plus 1 inch.

Fold the waistband in half longways making sure the right sides of the fabric are touching and sew into a tube. Then, Line up the short edges of the waistband with the edges of the skirt and pin the short edges down. Now pin the middle down. Now pin in between those pins, and so on and so on until it looks like this. The waistband is under the skirt. If that didn't make sense, use this tutorial.

Sew the band to the skirt. Next, you sew the straps into a tube the same way you did with the waistband. Turn them right side out.
Sew your zipper into the skirt. If you're not sure how to do this, Sew Mama Sew has a great tutorial on installing a zipper.
Mark where you want the straps and sew them on. Now you have a pretty little pinafore!
As always, send us pic or leave us a comment if you make one!
2.13.2011
Valentine's Day!


Hey guys! Happy early Valentine's Day! This year we got a little bit of a late start on the crafts, but have 2 mini tutorials to make it up to you! First, a cute softie - a heart with wings.

To make this softie, just cut out 2 heart shapes from pink felt,

Sew them together, leaving 2 one inch spaces on the sides,

Then turn it right side out and stuff! For the wings, cut 2 wing shapes from white felt, and hot glue them into the heart.

And that's it!
For our second tutorial, we have these super cute paint chip earrings!

First, you need a pink/red paint chip, either 3 different colors or the kind that already has 3 on them.

Cut them into strips by color and overlap them like in the picture.

Glue them together with a glue stick, then cut out 2 heart shapes. Coat them with Mod Podge Dimensional Magic, let dry for 24 hours (or be impaitent and blow a fan on them for 1 hour :))
When they're dry, hot glue earring backs to the back! Tadaaaa!!

Enjoy your Valentine's Day!
Linking to:

2.08.2011
Rainbow Notebook Tutorial
Everyone has boring old black and white marble composition books, right? You can use them for school, work, or even crafting! :) Well, today we'll show you how to turn those boring notebooks into this super awesome rainbow notebook!


It's got spunk, it's got personality, it's got style! And you can make it!
All you need is a black and white marble composition notebook (they sell them really cheap at the dollar store) and Sharpies in red, orange, yellow, green, blue, and purple.
Let's get started!
First you want to divide your notebook into even sections to color. Use the picture below and mark the lines on your notebook with a pen or pencil.

Now, just color in between the lines starting with red at the top then following the rainbow all the way down the composition notebook.
That's it! You can also do the back, but we chose just to do the front. It would also look cool if the colors were in reverse order, or maybe the stripes were smaller.
If you try it, make sure to send us a picture at thosecraftychicks(at)yahoo(dot)com!
Oh, and one last thing. Doesn't the notebook look cool in the Neon effect from Picnik?

1.17.2011
Paper Bag Skirt Tutorial
Hello, hello, hello! And happy (belated) new year! First project of 2011:


Sew the casing shut.
Now it's time to make the sash! You don't have to make this sash, you could always just wear it with a belt, but this way the belt is guaranteed to match!
Put the skirt on. Measure your waist wearing the skirt and add 10 inches for the tie tails.
I don't have an exact pattern for this part but cut 2 strips of fabric- waist measurement + 10 by about 2 inches wide. Make the ends slanted.


Materials:
Fabric- 1/2 - 1 yard
Scissors
1/4 - 1 inch elastic
Iron
Pencil
Sewing stuff
First, measure your natural waist, not your hips. Subtract 4 or 5 inches. This is measurement W.
Now measure from your waist to where you want the skirt to end. OK, now figure out how tall you want the little above waist piece to be, then double that. If you have no idea what I'm talking about, it's the thing above the belt/sash. Add an inch for the hem. This is measurement L.
Example:
Waist: 29 - 4 = 25 = W
Desired length: 14 + 8 (4 inch top piece doubled) = 22 + 1 (hem) = 23 = L
Sorry if that was confusing just email us if you have questions.
Cut 2 pieces of fabric, W by L

Right sides facing, sew the L sides together so you have a pretty big tube.

Remeber when you figured out how big you wanted the top piece to be? Take that measurement and fold it over. (4 inches in this picture.)
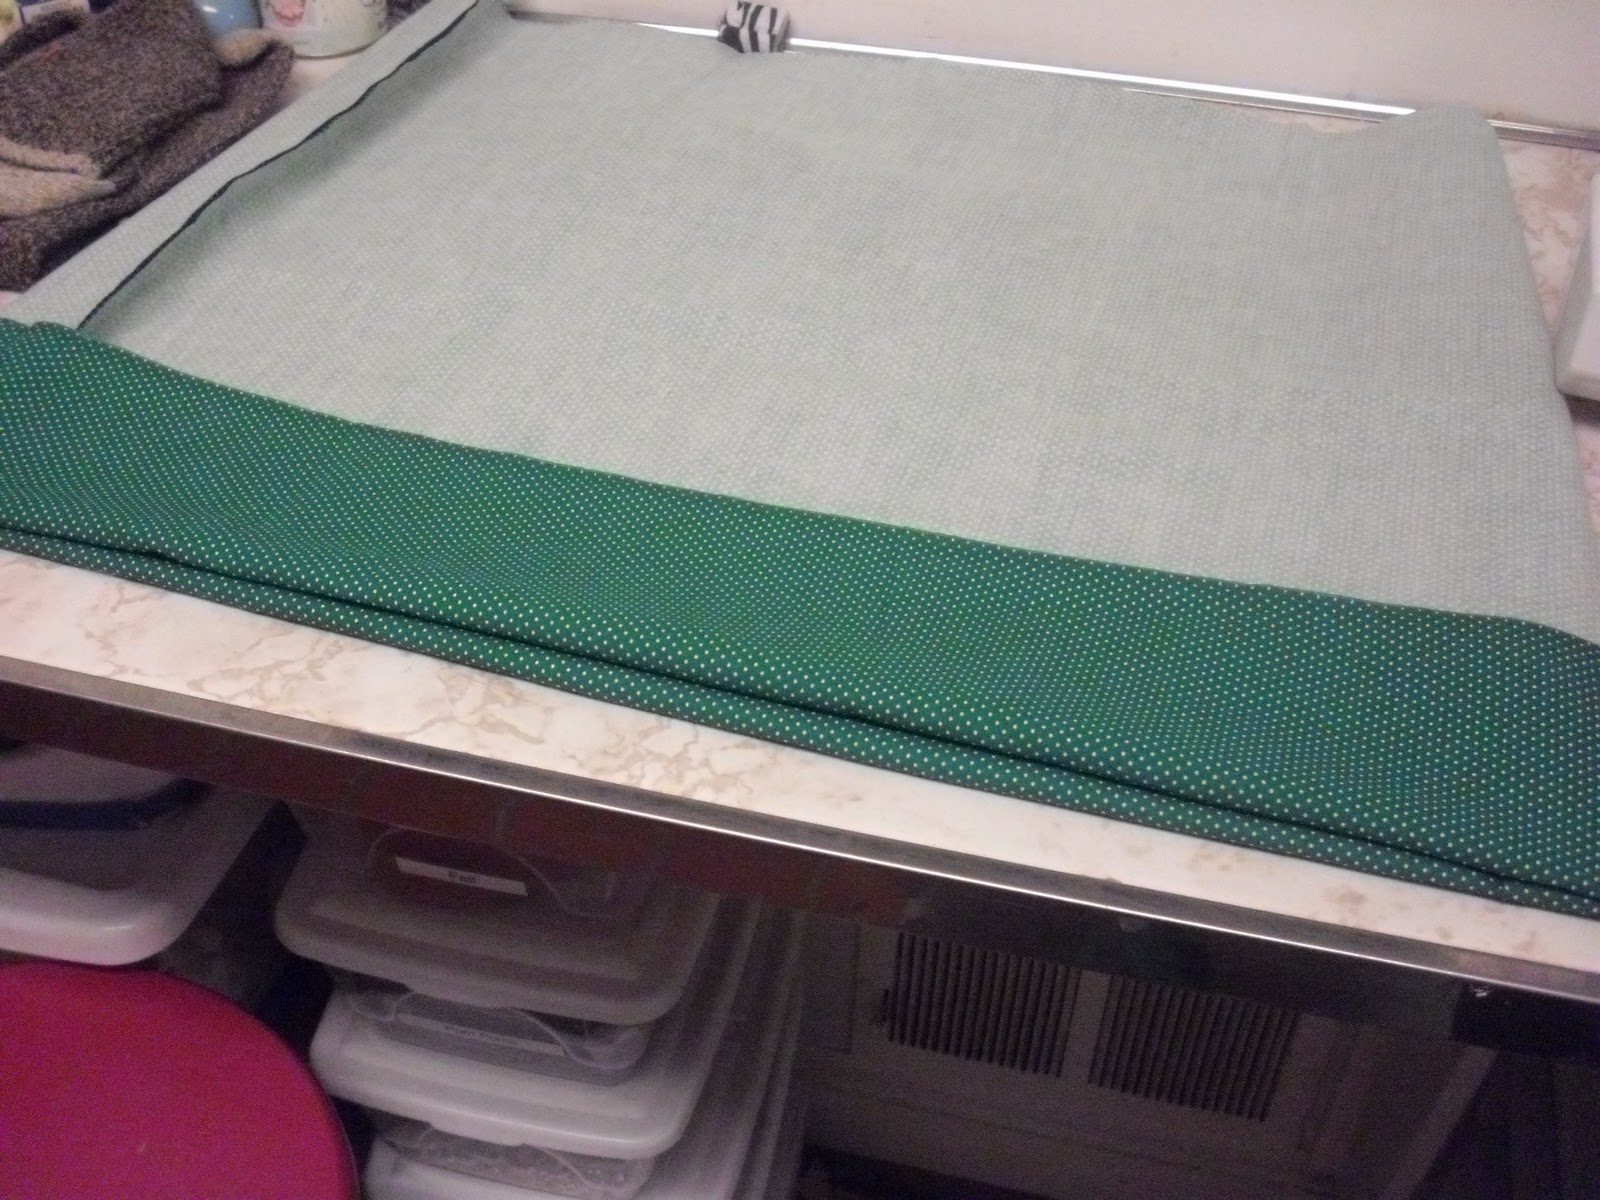
Sew a seam at the bottom of the folded edge, making sure to leave an inch open for the elastic.

Now sew a seam 1 inch above the seam you just sewed, again leaving about an inch open.

Attach a safety pin to the front and back ends of the elastic. On the back end, also safety pin it to the edge of the fabric. On the front end, use it to push the elastic through the casing you made. When it reaches the point you started at, pin the 2 ends together and sew them together.

Sew the casing shut.
Now it's time to make the sash! You don't have to make this sash, you could always just wear it with a belt, but this way the belt is guaranteed to match!
Put the skirt on. Measure your waist wearing the skirt and add 10 inches for the tie tails.
I don't have an exact pattern for this part but cut 2 strips of fabric- waist measurement + 10 by about 2 inches wide. Make the ends slanted.

Sew 3 sides together, leaving one short end open. Turn it right side out then fold the short end over and sew it shut. You can iron it if you want.

Lastly, hem the skirt. I used a zig zag stich, just to make it super cute.

And there you have it! A somewhat easy fun to make and to wear paper bag skirt! You might have to wait 'till spring to wear it though...
As always, send us a pic if you make one, and enjoy!
12.30.2010
We know 2 posts in 1 day might overwhelm you but...
....this was such an awesome tutorial, we just had to show it to you!
 |
| Super cute right? |
 |
| Perched atop the sewing machine |
Meet Oopsie the Octopus.
You can find her tutorial here.
She is super easy to make and would be an awesome gift for anyone young or old.
As always, if you make Oopsie send us a pic at thosecraftychicks@yahoo.com
Top 10 Posts of 2010!
Well, as most of you know, 2010 is coming to an end. So we thought we'd share with you the Top 10 posts that you guys liked the most! Here we go!
1.Elastic Band Skirt

2.Floppy Bow

3.Duct Tape Rose

4.Minion Magnets

5.Felt Flower

6.Welcome!
This was our first post ever!
7.Who Are You?
This was a post about getting to know our followers (and we still don't have 10 followers yet..!)
8.Cakes and Clay


9.Sheet Music Decoupage

10.The Artsy Clutch

And that's it! Hope you all have a Happy New Year!
1.Elastic Band Skirt

2.Floppy Bow

3.Duct Tape Rose

4.Minion Magnets

5.Felt Flower

6.Welcome!
This was our first post ever!
7.Who Are You?
This was a post about getting to know our followers (and we still don't have 10 followers yet..!)
8.Cakes and Clay


9.Sheet Music Decoupage

10.The Artsy Clutch

And that's it! Hope you all have a Happy New Year!
11.21.2010
Floppy Bow Tutorial
Tutorial time! We'll be making that bow up there. All you need is some fabric, a sewing machine, and 10 minutes.
1. Cut two fabric ovals about the size of your palm. I don't have an exact measurement, but you can see the measurements I used below.

2. Sew the 2 ovals together, right sides facing each other and leave a small 1-2 inch opening. It works best if the opening is on the long side of the ovals in the center.

3. Turn it right side out and pinch the center. You can hold it like this with a safety pin.

4. Now cut a piece of fabric 5 inches by 2 inches, fold it in half the long way, and sew up one long side and one short side. Turn it right side out.

5. Wrap the band you just made around the pinched center of the bow. Sew the band on as shown.

6. Trim the extra fabric on the band, and turn it right side out so the seam faces the inside.
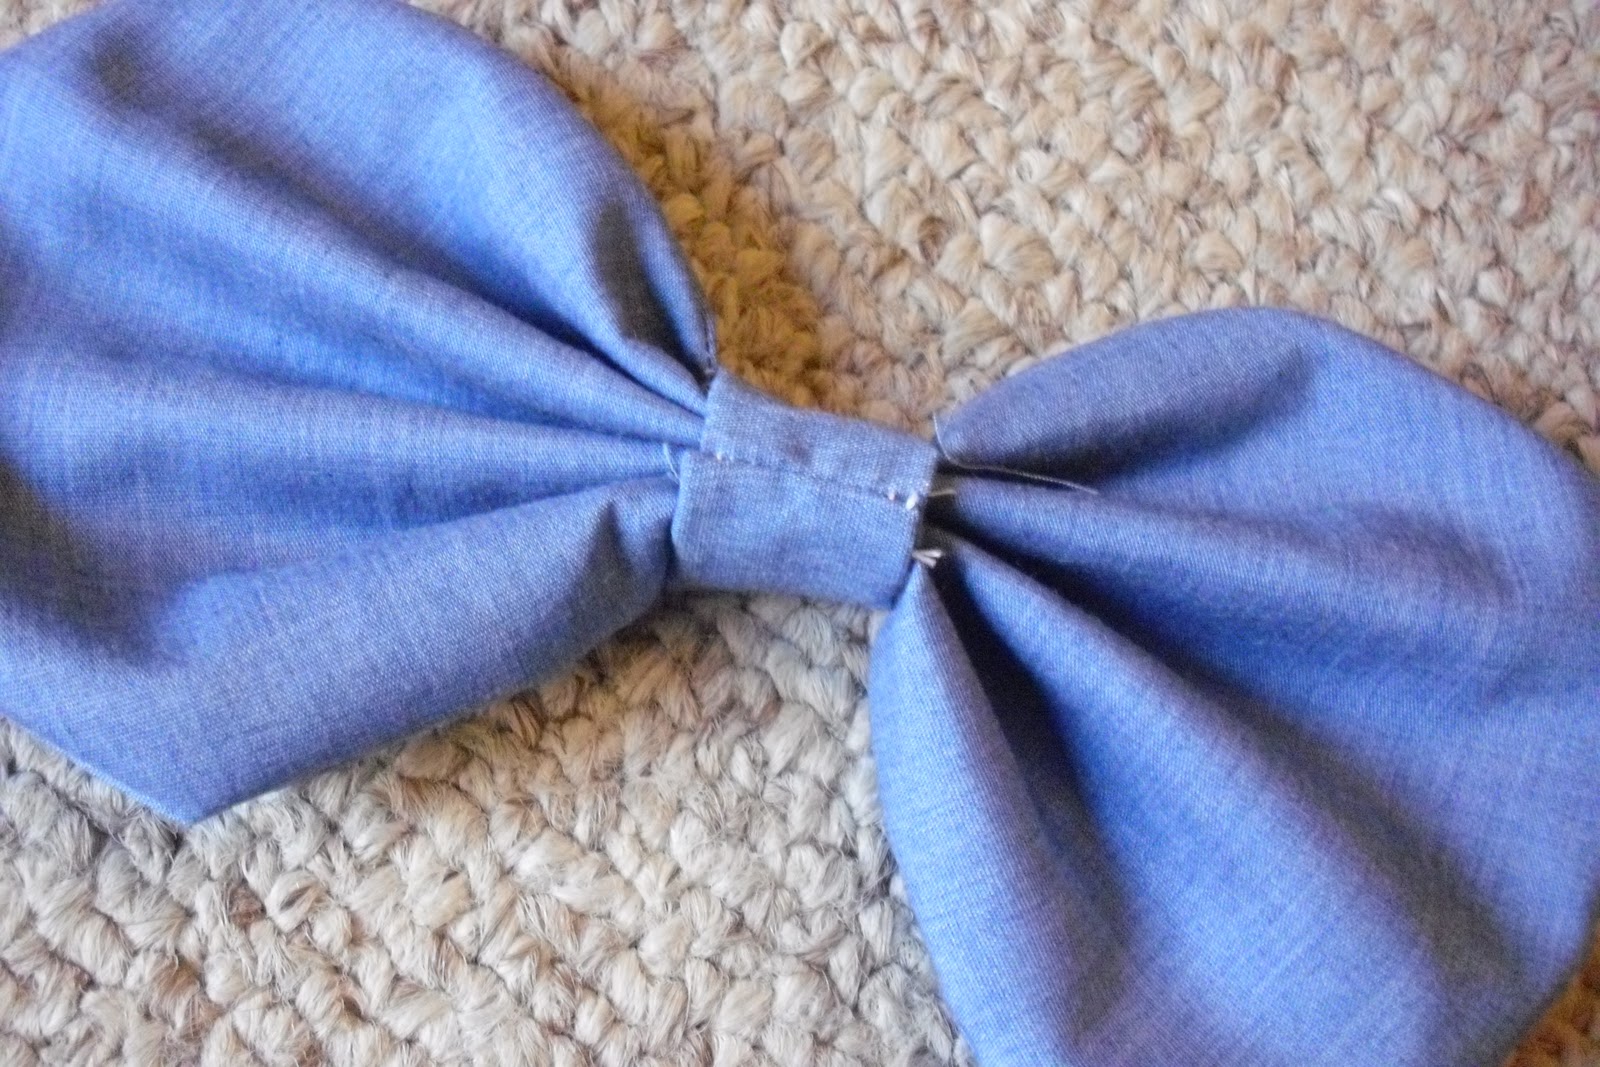
And that's it! Use your bow as a headband,

or use it to decorate a bag.

If you make a bow, send us pictures at thosecraftychicks@yahoo.com or leave a comment telling us what else we could do with the bow! Bye!
Subscribe to:
Posts (Atom)
