Showing posts with label elastic. Show all posts

1.17.2011

Paper Bag Skirt Tutorial

Hello, hello, hello!  And happy (belated) new year!  First project of 2011:


Materials:
Fabric- 1/2 - 1 yard
Scissors
1/4 - 1 inch elastic
Iron
Pencil
Sewing stuff

First, measure your natural waist, not your hips.  Subtract 4 or 5 inches.  This is measurement W.
Now measure from your waist to where you want the skirt to end.  OK, now figure out how tall you want the little above waist piece to be, then double that.  If you have no idea what I'm talking about, it's the thing above the belt/sash.  Add an inch for the hem.  This is measurement L.

Example:
Waist: 29 - 4 = 25 = W
Desired length: 14 + 8 (4 inch top piece doubled) = 22 + 1 (hem) = 23 = L

Sorry if that was confusing just email us if you have questions.

Cut 2 pieces of fabric, W by L


Right sides facing, sew the L sides together so you have a pretty big tube.


Remeber when you figured out how big you wanted the top piece to be?  Take that measurement and fold it over.  (4 inches in this picture.)
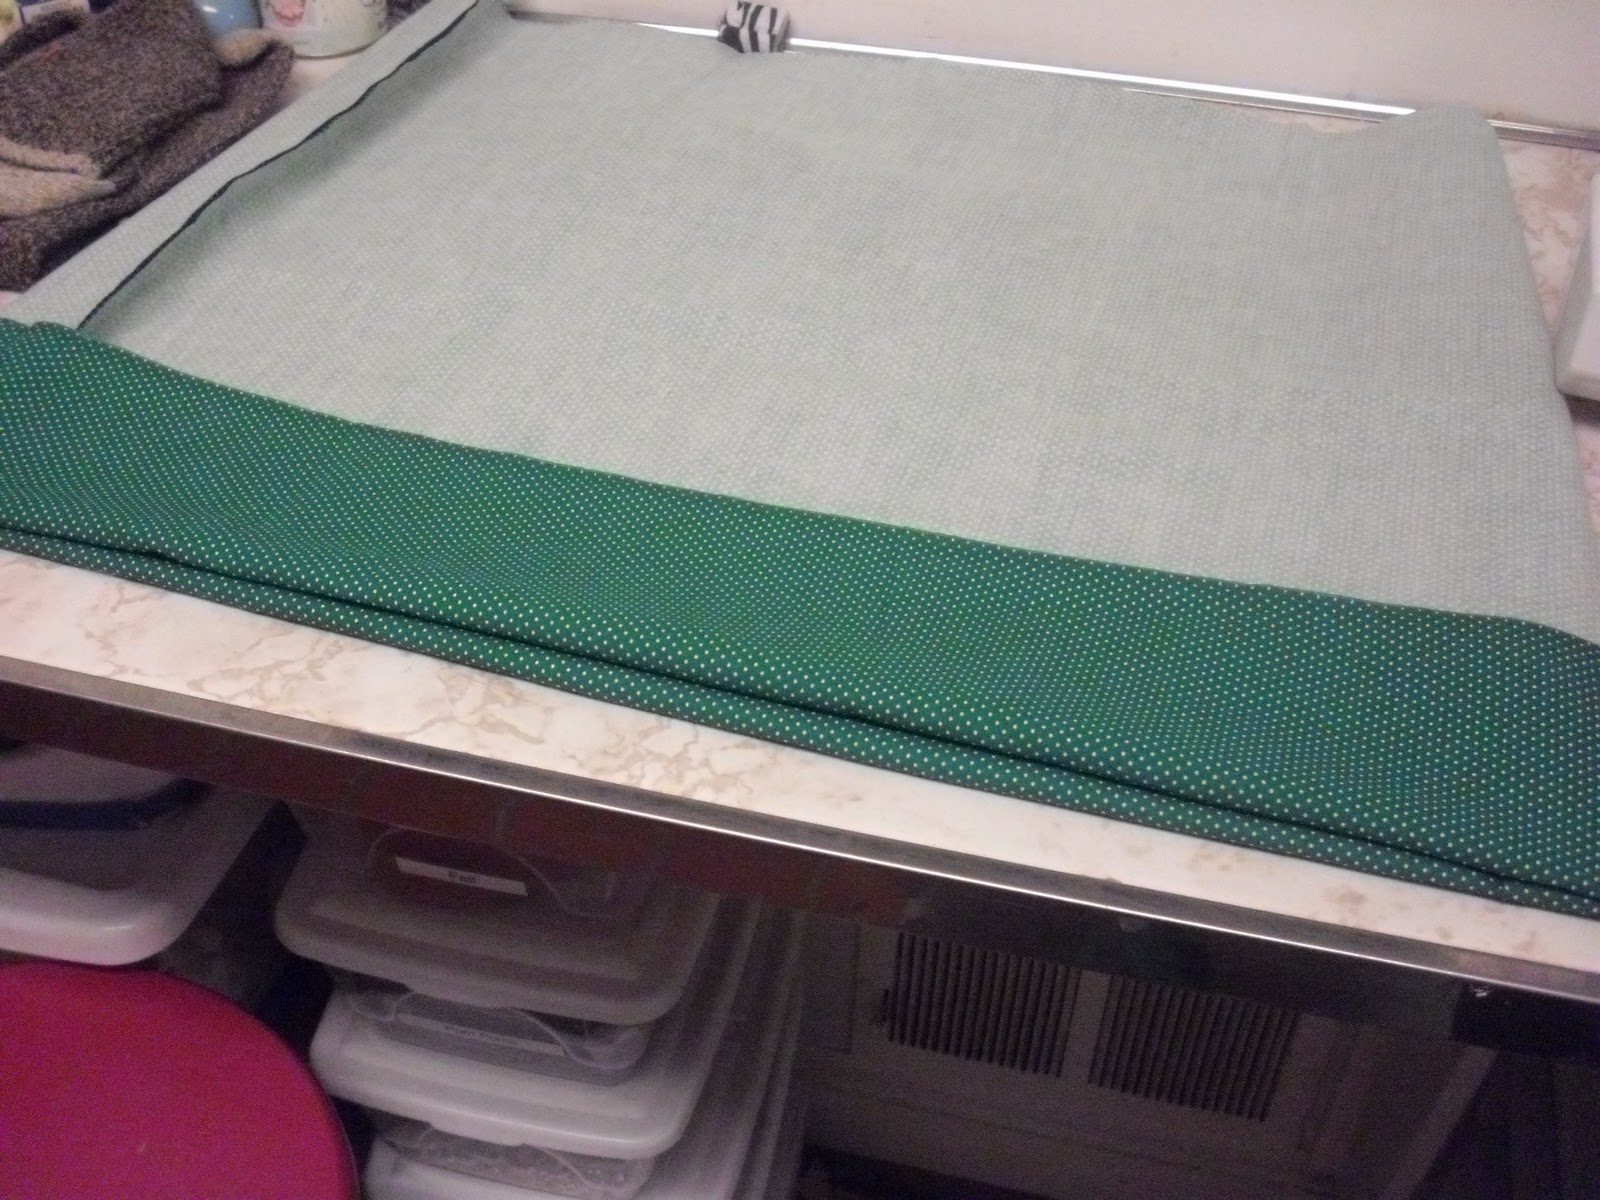


Sew a seam at the bottom of the folded edge, making sure to leave an inch open for the elastic.


Now sew a seam 1 inch above the seam you just sewed, again leaving about an inch open.


Attach a safety pin to the front and back ends of the elastic.  On the back end, also safety pin it to the edge of the fabric.  On the front end, use it to push the elastic through the casing you made.  When it reaches the point you started at, pin the 2 ends together and sew them together.


Sew the casing shut.

Now it's time to make the sash! You don't have to make this sash, you could always just wear it with a belt, but this way the belt is guaranteed to match!
Put the skirt on.  Measure your waist wearing the skirt and add 10 inches for the tie tails.

I don't have an exact pattern for this part but cut 2 strips of fabric- waist measurement + 10 by about 2 inches wide.  Make the ends slanted.

Sew 3 sides together, leaving one short end open.  Turn it right side out then fold the short end over and sew it shut.  You can iron it if you want.


Lastly, hem the skirt.  I used a zig zag stich, just to make it super cute.


And there you have it!  A somewhat easy fun to make and to wear paper bag skirt!  You might have to wait 'till spring to wear it though...
As always, send us a pic if you make one, and enjoy!


11.14.2010

Elastic Band Skirt Tutorial


Ok, so I'm sure you've seen these skirts everywhere.  Old Navy, Forever 21, Hollister, you name it.  But what would be a lot cheaper than buying one, is making one! This skirt has 2 layers- a main layer and a liner like fabric that peeks out from underneath. Let's get started.

Materials:
Top layer fabric (this one shows the most)
Liner like fabric
2 1/2" - 3" elastic, any color, we used black.
Scissors
Measuring Tape
Sewing stuff (pins, thread, sewing machine, etc.)
Seam Ripper

*seam allowance 1/4" unless otherwise noted*
1.  Time for measuring! First, measure your natural waist or wherever you want the skirt to rest.  I got 27 inches, for a 10 year old girl.  I added 3 inches.  If you want a flowy skirt, add about 5 or 6 inches.  If you want more of a straight skirt add 2-4 inches.  This is measurement A.
2.   Now measure from the top of your waist to wherever you want the skirt to rest.  Add 2 inches to this for seam allowance and your hem.  This is measurement B.
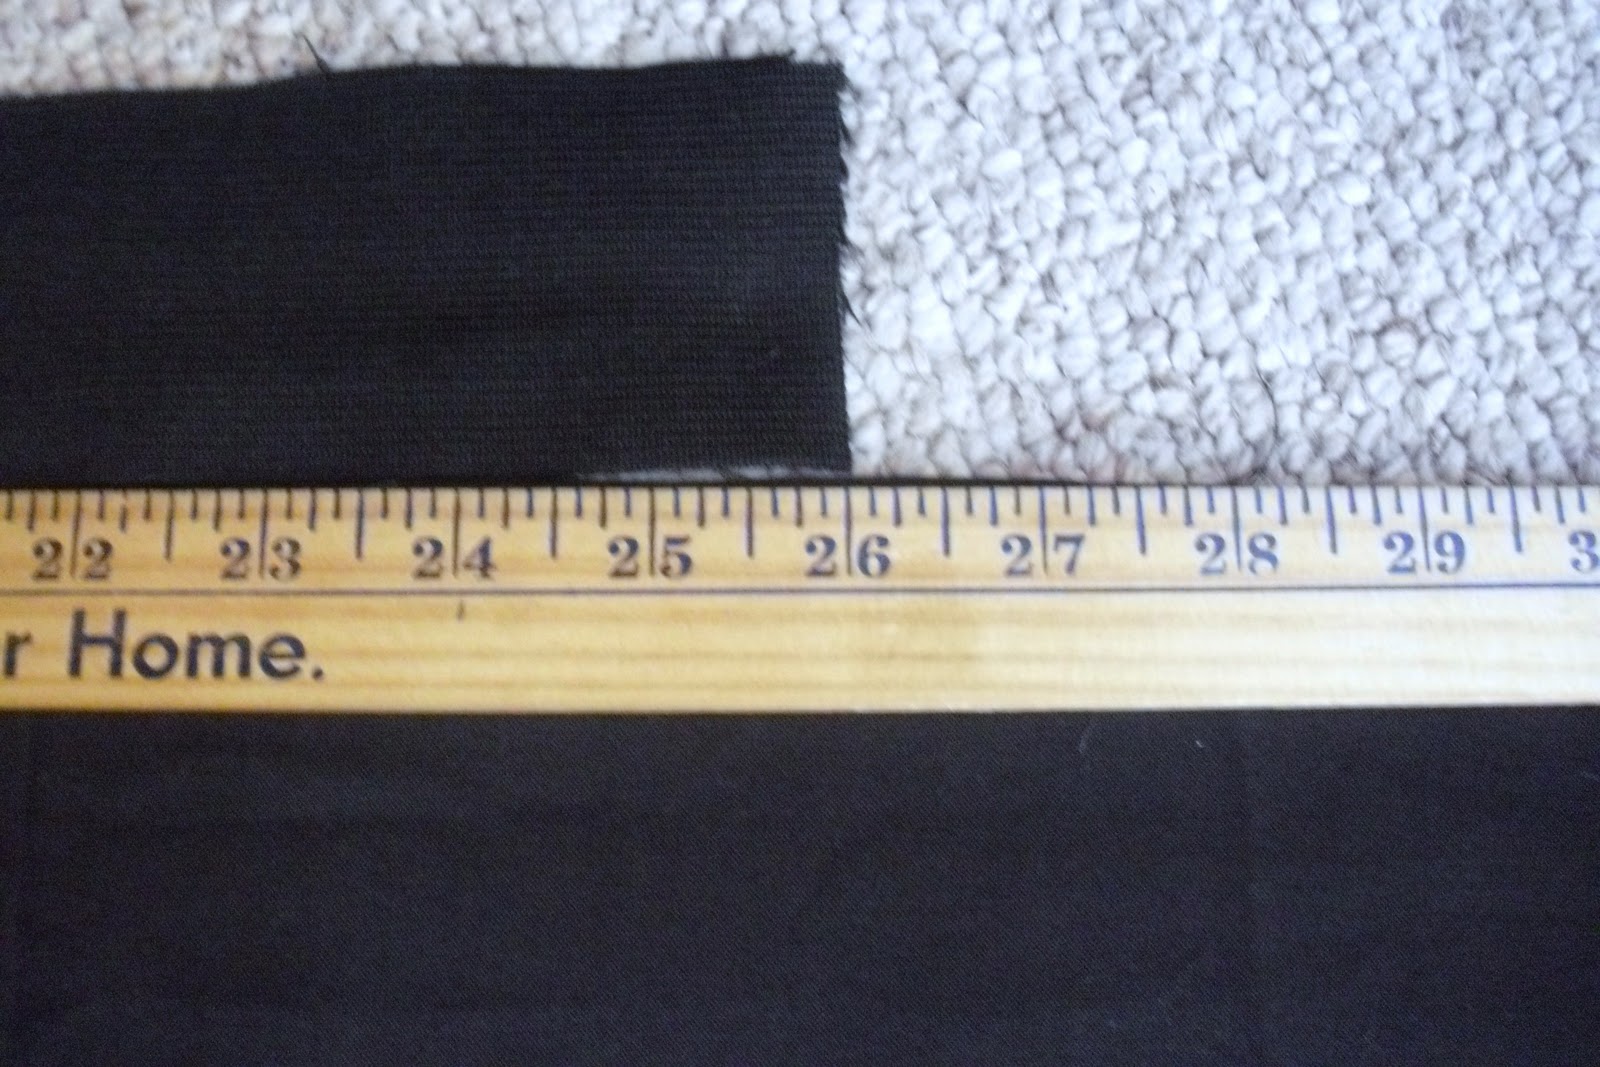
3.  Now cut your linining fabric and top layer fabric using these measurements.  In this picture the top layer is on top (zebra print) and the liner like fabric is on the bottom (black)


4.  For the elastic take your original waist measurement and subtract 1 inch. 


5.  Now it's time to sew!  Place your top layer on top of your liner like fabric and sew a seam using the largest stitch about 2 inches away from the top of the material.  This seam is optional because it's just to hold the fabric together while you sew the elastic on.  You can also pin it.


6.  This part is a little tricky but if you do it right, the skirt comes out great.  Strech the elastic until it reaches the fabrics (liner and toplayer) full length.  Pin it in place.  You may need a partner for this.  


7.  Face the skirt as in the picture and sew along the right side,  stretching as you go. 


 Now you have this.


Flip up the waistband and you have this.


8.  Remember the seam I talked about in step 5? If you made it rip it out!

  
9.  Time for the hem!  Lift up the top layer and focus on the liner like layer.  Pin it and hem it 1/4".


10.  For the final step, fold the top layer over right where the liner like hem ends and sew in place.  Put the top layers facing each other, sew the 2 ends together, turn it inside out and voila! You've got an elastic waistband skirt.


 I know there must be an easier way of doing this, so comment if you know how! If you have any questions, post a comment! And if you just want to say hi, post a comment!
Related Posts Plugin for WordPress, Blogger...