Hi! It's Jillian! As you can see from the title and the picture, you can probably guess what we're making. I've been meaning to make this post for a while now, so I hope you enjoy it! Let's get started.
Materials:
Duct tape
Floral wire or a thick plastic straw
Scissors (optional)
1. Rip (or cut, which I like to do because it's neater) a piece of duct tape about 2 inches long.
2. Fold the top left hand corner over on itself, leaving a strip of adhesive on the bottom and right side.
3. Now fold the right corner over, still leaving a sticky part on the bottom.
4. Take what you now have and position it on the straw (or wire) as shown below.
5. Wrap it tightly around it, and you should have this. It's (supposed to be) the rosebud!
6. For the petals, repeat steps 1-3 and wrap it around the bud at angle. Do this again and again and again to make the petals.
When you're all done, you should have something like this! Give it as a gift, tape it to a pen, use to decorate almost anything. See ya!
P.S. We should have some Christmas/holiday crafts coming soon, so stay tuned!
12.08.2010
12.03.2010
Felt Flower
Dear Readers,
Hey guys! So, today we will be sharing our tutorial for making a felt flower. All you need is:
- 2 colors of felt (we used pink and grey)
-a hot glue gun
-fabric scissors
- your imagination!
You can do many things with your beautiful felt flower. I did a couple of things. First, I glued a bunch of them on a box for decoration:
Or you could glue it on the top of a pencil (But that could make it hard to erase. You might want to use a pen instead)
Love,
Jillian and Claire
Hey guys! So, today we will be sharing our tutorial for making a felt flower. All you need is:
- 2 colors of felt (we used pink and grey)
-a hot glue gun
-fabric scissors
- your imagination!
The last one is the most important. Here's what you do:
1. Cut a strip of felt about 2 inches thick and 6 inches long out of each color of felt (sorry, no picture)2. Cut triangles from the top of each piece of felt so that they look something like this:
3. Glue the 2 strips together
4. Start rolling up the strips, hot gluing on the way
5. Continue rolling until you run out of fabric. Then, hot glue the edge down.
6. Now you're finished and you should have something like this:
Or you could glue it on the top of a pencil (But that could make it hard to erase. You might want to use a pen instead)
Love,
Jillian and Claire
ps. Sorry about the bad pictures. There's only so much 2 crafters can do and make an awesome craft, and take good pictures at the same time is not one of them!
11.21.2010
Floppy Bow Tutorial
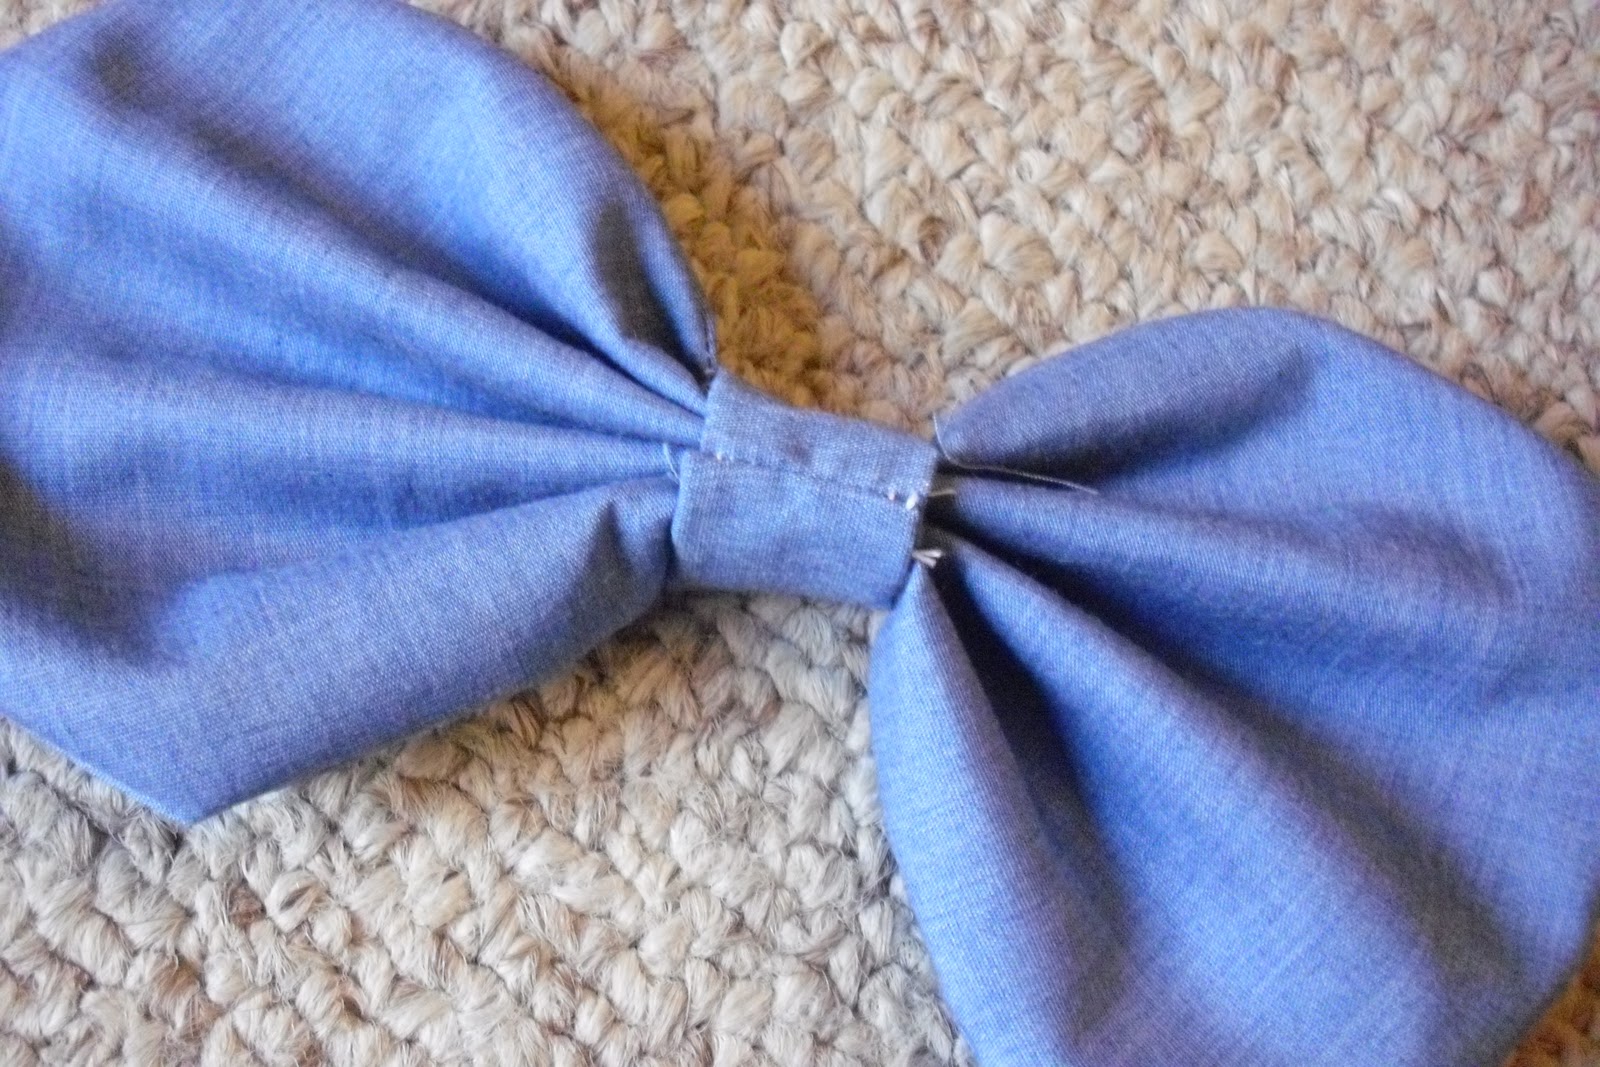
Tutorial time! We'll be making that bow up there. All you need is some fabric, a sewing machine, and 10 minutes.
1. Cut two fabric ovals about the size of your palm. I don't have an exact measurement, but you can see the measurements I used below.
2. Sew the 2 ovals together, right sides facing each other and leave a small 1-2 inch opening. It works best if the opening is on the long side of the ovals in the center.
3. Turn it right side out and pinch the center. You can hold it like this with a safety pin.
4. Now cut a piece of fabric 5 inches by 2 inches, fold it in half the long way, and sew up one long side and one short side. Turn it right side out.
5. Wrap the band you just made around the pinched center of the bow. Sew the band on as shown.
6. Trim the extra fabric on the band, and turn it right side out so the seam faces the inside.
And that's it! Use your bow as a headband,
or use it to decorate a bag.
If you make a bow, send us pictures at thosecraftychicks@yahoo.com or leave a comment telling us what else we could do with the bow! Bye!
11.16.2010
The Artsy Clutch
A while ago, we mentioned we were going to feature a crafty book, movie, or something of that sort every Friday. Well, we didn't really stick to that but we'll give it try today! This book is so great we just couldn't wait 'till Friday to share so here goes.
The book is called Bend the Rules Sewing by Amy Karol.
You probably have heard of her blog, angry chicken. The book is filled with tutorials, tips, and great projects. I like this book because it frequently mentions using a seamripper:). We actually made a project from the book called The Artsy Clutch. It's the bag on the front cover. We can't exactly give you how to do it because it's not ours but you can get the book at your library. Here are the clutches we made, enjoy!
The book is called Bend the Rules Sewing by Amy Karol.
You probably have heard of her blog, angry chicken. The book is filled with tutorials, tips, and great projects. I like this book because it frequently mentions using a seamripper:). We actually made a project from the book called The Artsy Clutch. It's the bag on the front cover. We can't exactly give you how to do it because it's not ours but you can get the book at your library. Here are the clutches we made, enjoy!
11.14.2010
Elastic Band Skirt Tutorial
Ok, so I'm sure you've seen these skirts everywhere. Old Navy, Forever 21, Hollister, you name it. But what would be a lot cheaper than buying one, is making one! This skirt has 2 layers- a main layer and a liner like fabric that peeks out from underneath. Let's get started.
Materials:
Top layer fabric (this one shows the most)
Liner like fabric
2 1/2" - 3" elastic, any color, we used black.
Scissors
Measuring Tape
Sewing stuff (pins, thread, sewing machine, etc.)
Seam Ripper
*seam allowance 1/4" unless otherwise noted*
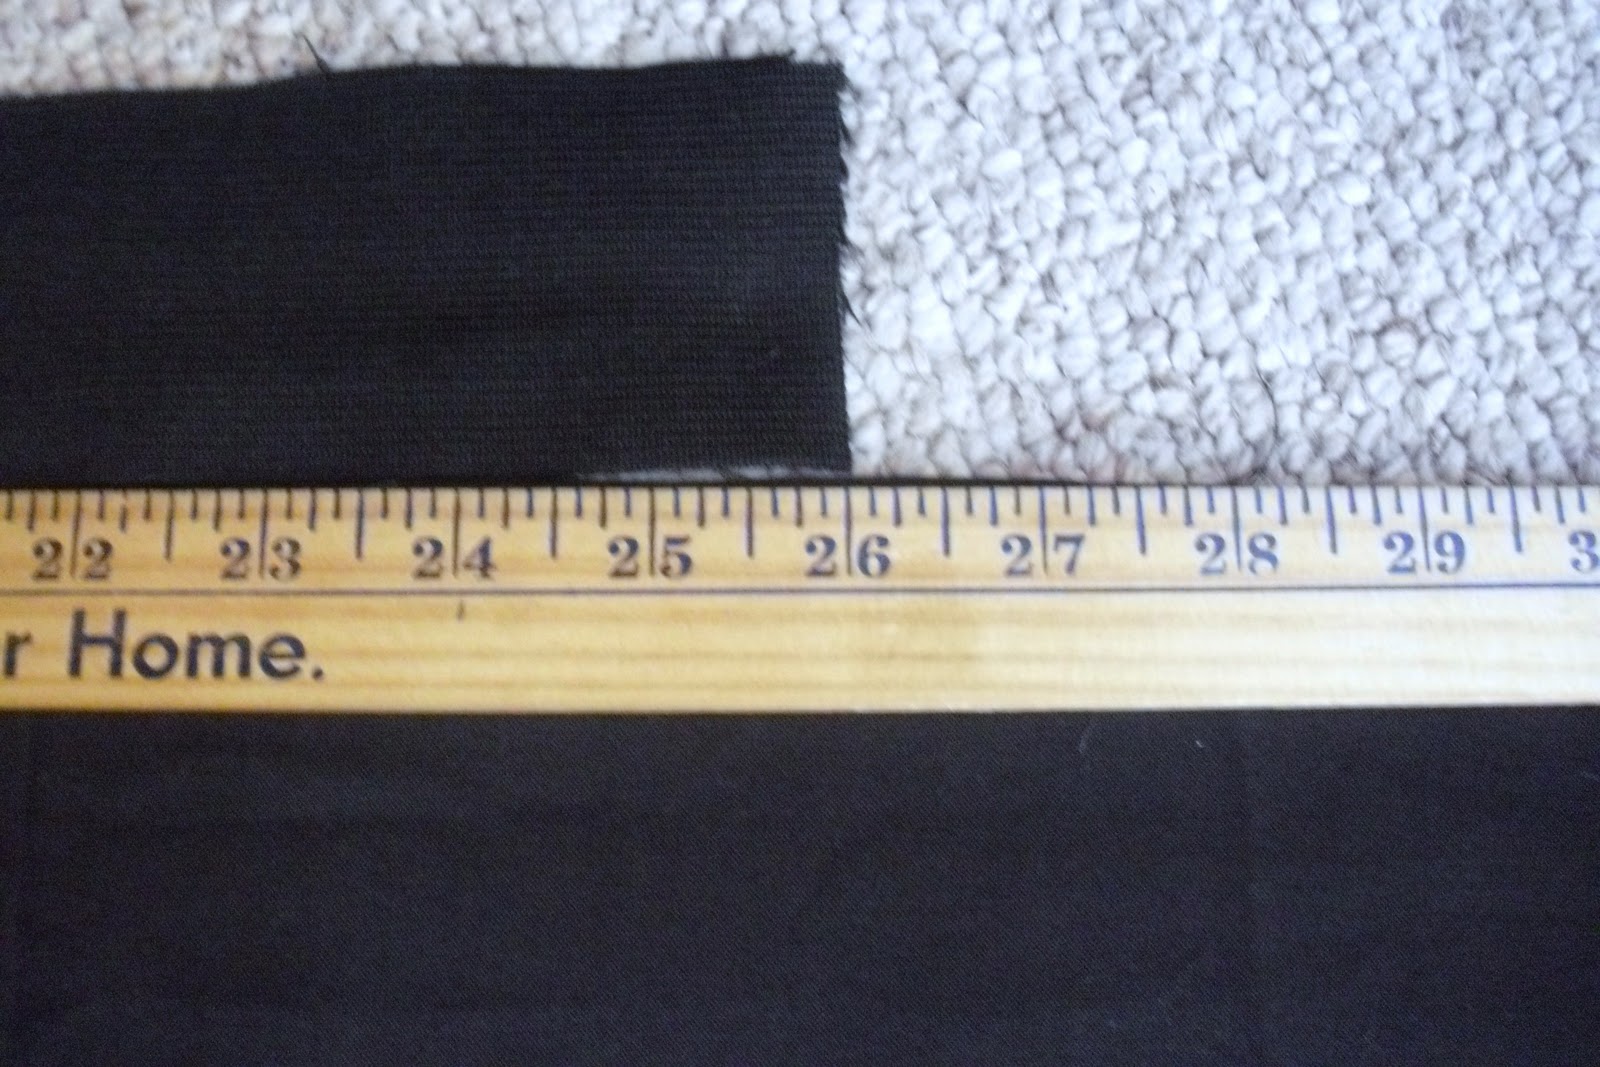
1. Time for measuring! First, measure your natural waist or wherever you want the skirt to rest. I got 27 inches, for a 10 year old girl. I added 3 inches. If you want a flowy skirt, add about 5 or 6 inches. If you want more of a straight skirt add 2-4 inches. This is measurement A.
2. Now measure from the top of your waist to wherever you want the skirt to rest. Add 2 inches to this for seam allowance and your hem. This is measurement B.
3. Now cut your linining fabric and top layer fabric using these measurements. In this picture the top layer is on top (zebra print) and the liner like fabric is on the bottom (black)
4. For the elastic take your original waist measurement and subtract 1 inch.
5. Now it's time to sew! Place your top layer on top of your liner like fabric and sew a seam using the largest stitch about 2 inches away from the top of the material. This seam is optional because it's just to hold the fabric together while you sew the elastic on. You can also pin it.
6. This part is a little tricky but if you do it right, the skirt comes out great. Strech the elastic until it reaches the fabrics (liner and toplayer) full length. Pin it in place. You may need a partner for this.
7. Face the skirt as in the picture and sew along the right side, stretching as you go.
Now you have this.
Flip up the waistband and you have this.
8. Remember the seam I talked about in step 5? If you made it rip it out!
9. Time for the hem! Lift up the top layer and focus on the liner like layer. Pin it and hem it 1/4".
10. For the final step, fold the top layer over right where the liner like hem ends and sew in place. Put the top layers facing each other, sew the 2 ends together, turn it inside out and voila! You've got an elastic waistband skirt.
I know there must be an easier way of doing this, so comment if you know how! If you have any questions, post a comment! And if you just want to say hi, post a comment!
11.07.2010
Post Halloween Post Part 2
Hey everybody! Yes, we know it's a week after Halloween but we couldn't resist sharing these pics. Up first, we have a cupcake!
For the rings, we used the tutorial from Food Network's Cupcake Costume. But we found that this tutorial didnt have very much arm room so we made two middle rings cut them in half and sewed up the sides that were open. Then we took all of the rings, layed them in order and stapled/sewed them together. We cut 2 inch strips of pipe cleaners and attached them with fabric glue. Now you have your top.
For the cup of the cupcake, we bought a cheesy laundry basket and covered it with fabric, and duct taped in place. To hold it up, clip suspenders to the top of the basket and that's basically it. For extra pizzaz, paint and styrofoam ball red, stick a pipe cleaner in it and glue it to a headband.
Next up, presenting a chicken!
For the chicken, we used about 3 feather boas and glued them all around a white sweatshirt. Cut 2 comb shape out of red felt, sew the two pieces together, and stuff. Then sew the comb on to the hood. For the beak, cut 2 beak shapes out of yellow felt and sew those together. Stuff the beak then sew 1/4 inch elastic into it. Now you've got a chicken!
Coming soon we have a skirt tutorial so stay tuned!
For the rings, we used the tutorial from Food Network's Cupcake Costume. But we found that this tutorial didnt have very much arm room so we made two middle rings cut them in half and sewed up the sides that were open. Then we took all of the rings, layed them in order and stapled/sewed them together. We cut 2 inch strips of pipe cleaners and attached them with fabric glue. Now you have your top.
For the cup of the cupcake, we bought a cheesy laundry basket and covered it with fabric, and duct taped in place. To hold it up, clip suspenders to the top of the basket and that's basically it. For extra pizzaz, paint and styrofoam ball red, stick a pipe cleaner in it and glue it to a headband.
Next up, presenting a chicken!
For the chicken, we used about 3 feather boas and glued them all around a white sweatshirt. Cut 2 comb shape out of red felt, sew the two pieces together, and stuff. Then sew the comb on to the hood. For the beak, cut 2 beak shapes out of yellow felt and sew those together. Stuff the beak then sew 1/4 inch elastic into it. Now you've got a chicken!
Coming soon we have a skirt tutorial so stay tuned!
11.04.2010
Post Halloween Post
Okay,okay! We know its a few days after Halloween but, we said we would do a post about a Cat in the Hat costume and we don't break promises! So here it is:
Coincidentally, Jillian's sister and I (I being Claire) were both Dr. Suess' The Cat in the Hat for Halloween.
So here I am:
Coincidentally, Jillian's sister and I (I being Claire) were both Dr. Suess' The Cat in the Hat for Halloween.
So here I am:
![]() |
| (Face blurred for safety reasons!!!!) |
So basically, when I made this costume i was not creative or crafty in any way. I wore jeans, and black shirt, a jean jacket (it was cold!), a store-bought Cat in the Hat hat, (and even though they're not in this picture) some gloves, and a red bow-tie. I also bought a tail that attaches to belt loops and wore that around even though it kept getting stepped on!!! With eyeliner (or you could use black costume make-up) I colored in my nose and drew some whiskers. The End! I'm sorry it wasn't very crafty.
So if you want a bit more crafty option...you can do what Jillian did for her sister!!!
All you need is a black t-shirt and some white felt. Here's what you do:
1. Cut out an oval from the white felt
2. Using fabric glue, attach the oval to the center of the shirt (where a cat's belly might be) You could also sew the oval on.
Then, throw on some black sweat pants and wear some white gloves and a tall striped hat.
Happy Week After Halloween everyone!
10.29.2010
Deviled Egg Costume
Yes, I know, it’s a deviled egg. But this costume is super easy and super cool so let’s get started.
Materials:
2. Now lay it on the yellow fabric, trace it and cut it out. Cut 1/4 inch snips all the way around the circle and then fabric glue (or sew) all of the tabs down to create a hem. In this picture the iron and the weights are just holding down the glue.
3. Sorry I don't have pictures for this but basically pin the hemmed yellow circle to the center of the hoodie and sew it in place. Leave a small opening and stuff it lightly. Then sew the opening shut and it should look something like this.
4. Now for the hood. Measure where the horns are and cut 2 holes in the hood. Put the horns on your head and poke the horns through the holes. Put the rest of your devil attire on and this is what you get!
Sneak peek of the next costume!
See ya!
Materials:
- white hoodie (you can use one with a zipper but I think it's harder to sew over)
- yellow fabric
- pitchfork
- devil horns
- devil tail
2. Now lay it on the yellow fabric, trace it and cut it out. Cut 1/4 inch snips all the way around the circle and then fabric glue (or sew) all of the tabs down to create a hem. In this picture the iron and the weights are just holding down the glue.
3. Sorry I don't have pictures for this but basically pin the hemmed yellow circle to the center of the hoodie and sew it in place. Leave a small opening and stuff it lightly. Then sew the opening shut and it should look something like this.
4. Now for the hood. Measure where the horns are and cut 2 holes in the hood. Put the horns on your head and poke the horns through the holes. Put the rest of your devil attire on and this is what you get!
Sneak peek of the next costume!
See ya!
10.05.2010
More Halloween Crafts!

Ok,well one more Halloween craft. But it is so super cool that we wanted to show it to you. These candy corn earrings are made out of paint chips and are sooo creative. So without further ado, we now present the Super Awesome Paint Chip/Candy Corn earrings.
Click Away!
10.04.2010
Happy Almost Halloween!
Happy Halloween! Well, not yet… Both of us love Halloween, so to combine Halloween with crafts, we found a bunch of cool projects!
Girly Ghosts
A friend of ours has created a blog for their annual haunted house/basement and we want you to go check it out! Go to Lindsey and Lindsay's Haunted House Spooktacular. If you live in the area and you want to go to the haunted house read their blog for the info. But wait! There’s more! We’ll also be posting tutorials for some super cool costumes so stay tuned! See ya!
Labels:
candy corn,
cupcake,
halloween,
mod podge,
sewing
Subscribe to:
Posts (Atom)